Tag: Garage door repair Salado TX

How To Replace Lift Cable On Garage Door – Salado Garage Doors

A properly functioning lift cable is crucial for the smooth operation of a Garage Door Repair. Over time, lift cables can wear out, fray, or even snap due to continuous use and exposure to various elements. When this happens, it’s important to replace the lift cable promptly to prevent further damage and ensure the safety of your garage door system.

In this comprehensive guide, we will walk you through the step-by-step process of replacing a lift cable on your garage door.

Before You Begin:

  1. Safety First:
    • Disconnect the power: Unplug the garage door opener from the electrical outlet to prevent accidental activation during the replacement process.
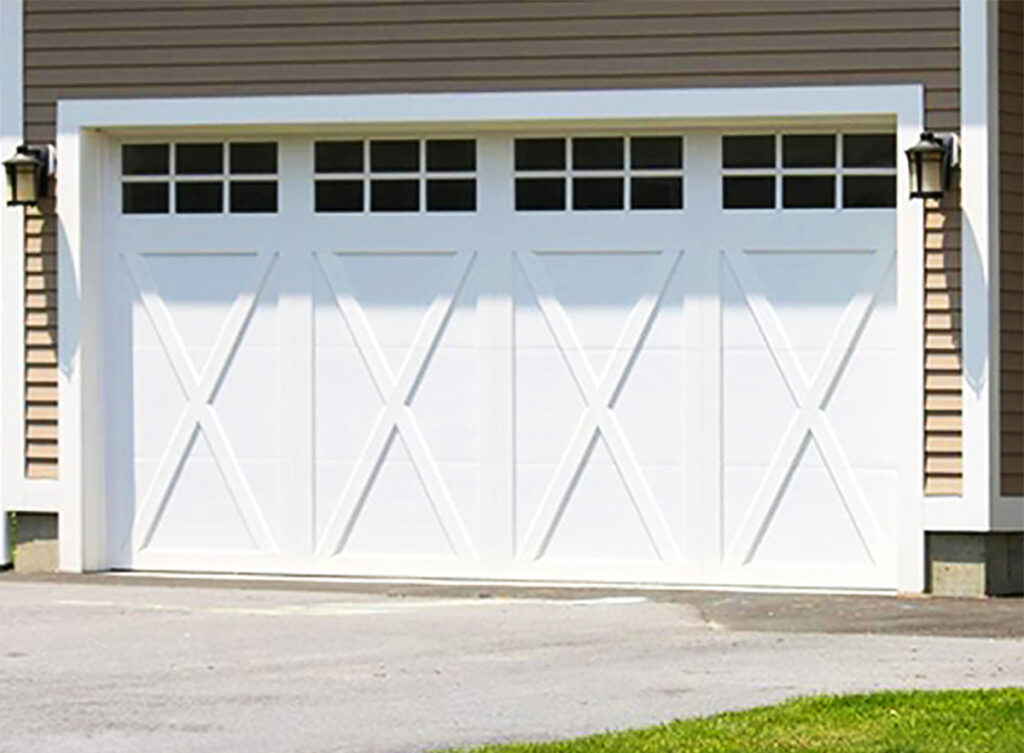
    • Secure the door: Ensure the garage door is fully closed and use c-clamps or locking pliers to secure it in place. This prevents any unexpected movement while working on the lift cables.
    • Wear safety gear: Put on safety glasses, work gloves, and appropriate footwear to protect yourself from potential injuries.
  2. Gather the Necessary Tools and Materials:
    • Ladder
    • Adjustable wrenches
    • Vice grips
    • C-clamps or locking pliers
    • New lift cables (specific to your garage door model)
    • Replacement rollers (if needed)
    • Lubricant spray
    • Safety glasses
    • Work gloves

Step-by-Step Guide:

  1. Identify the Problem:
    • Inspect the garage door thoroughly to identify the issue with the lift cable. Look for signs of wear, fraying, rust, or complete breakage.
  2. Release Tension from the Old Cable:
    • Locate the cable drum at the top of the garage door.
    • Using an adjustable wrench, loosen the nuts on the cable drum. This will release tension from the old cable.
    • Once the tension is released, secure the garage door in place using c-clamps or locking pliers.
  3. Remove the Old Lift Cable:
    • Detach the old lift cable from the bottom bracket near the garage door track.
    • Carefully unthread the cable from the cable drum at the top of the door.
    • If the cable is broken, gently remove any loose strands.
  4. Install the New Lift Cable:
    • Thread the new lift cable through the cable drum groove and the pulley on the side of the door.
    • Securely fasten the cable to the bottom bracket using the provided bolts or hooks.
    • Ensure the cable is properly aligned to avoid unnecessary wear.
  5. Re-tension the Lift Cable:
    • Use vice grips to grip the new lift cable and pull it tight.
    • Tighten the nuts on the cable drum to restore tension gradually. Be cautious and maintain an equal amount of tension on both sides to ensure balanced door movement.
  6. Check and Adjust Garage Door Balance:
    • A balanced garage door is essential for smooth operation and to reduce strain on the opener.
    • Disengage the opener and manually lift the door halfway. If it stays in place, the door is balanced. If not, adjust the tension on the cable drum until the door remains at the halfway position without support.
  7. Lubricate Moving Parts:
    • Apply lubricant spray to all moving parts of the garage door, including hinges, rollers, and springs. Proper lubrication reduces friction and extends the life of the components.
  8. Test the Garage Door:
    • Reconnect the garage door opener and test the door’s functionality.
    • Open and close the door several times to ensure it operates smoothly and without any issues.
  9. Regular Maintenance:
    • To prolong the life of the new lift cable and ensure the continued smooth operation of your garage door, perform regular maintenance at least once every six months.
    • Inspect the lift cables, rollers, and all moving parts for signs of wear or damage. Replace any worn-out or damaged components promptly.
    • Apply lubricant to all moving parts to maintain optimal performance.
    • Check and tighten all hardware to ensure the door’s stability.
  10. Seek Professional Help When Needed:
    • If you encounter complex issues or lack experience in garage door repairs, seek the assistance of a qualified garage door technician.
    • Safety concerns and potential warranty considerations may also warrant professional help.

Conclusion:

Replacing the lift cable on a Garage Door Repair is a manageable task when you follow the proper steps and prioritize safety. Regular maintenance and inspections will keep your garage door in optimal condition, ensuring its continued smooth operation and preventing costly repairs. Remember, when in doubt, or if you encounter complex issues, it’s best to seek the expertise of a qualified garage door technician. With proper care and attention, your garage door will serve you reliably for years to come.

Salado Garage Doors

229 N Main St, Salado, TX 76571, United States

1-254-345-4058

Understanding Garage Door Spring Systems: My Experience with Torsion and Extension Springs – Salado Garage Doors

As a homeowner who has dealt with garage door maintenance and repairs, I have gained firsthand knowledge about the different types of spring systems used in garage doors. Torsion springs and extension springs each have their unique characteristics and considerations.

I will share my personal experience with both spring systems and provide insights into their advantages, considerations, and maintenance requirements.

By understanding these aspects I got from Garage Door Repair Salado TX, you can make informed decisions regarding your garage door’s spring system.

  1. Torsion Springs: Having experienced the benefits of torsion springs in my garage door, I can attest to their effectiveness and reliability. Here are my key insights:

1.1 Smooth Operation and Durability: Torsion springs offer smooth and controlled door operation. The tightly wound springs store energy when the door is closed and release it to aid in opening the door. This mechanism provides a balanced and controlled movement, reducing strain on the door and opener. I have noticed that torsion springs tend to be more durable and have a longer lifespan compared to extension springs. They experience less stress and fatigue during each door cycle, making them a reliable choice.

1.2 Space Efficiency and Safety: One of the advantages I appreciate about torsion springs is their space efficiency. As they are mounted horizontally above the door, they require less overhead space compared to extension springs. This allows for more storage or ceiling clearance in the garage. Additionally, torsion springs are considered safer because they are installed on a shaft and are less likely to break and cause injury or property damage. I value the added peace of mind knowing that my garage door operates safely.

1.3 Considerations and Professional Maintenance: While torsion springs offer numerous benefits, they require professional installation and maintenance. Due to their complex installation process, I highly recommend hiring a professional garage door technician for both installation and maintenance. This ensures that the springs are properly tensioned and aligned, minimizing the risk of accidents. It is important to prioritize safety and have the springs checked regularly to identify any signs of wear or damage.

  1. Extension Springs: While I have less experience with extension springs, I understand their characteristics and considerations. Here are my insights:

2.1 Cost-Effectiveness and Individual Replacement: Extension springs are known for their affordability, making them a popular choice for budget-conscious homeowners. When compared to torsion springs, they offer a cost-effective option without compromising functionality. One advantage I have noticed is that if an extension spring breaks, it can be replaced individually, unlike torsion springs, which typically require both springs to be replaced simultaneously. This allows for more flexibility and cost savings in case of a spring failure.

2.2 Safety Concerns and Lifespan: One important consideration with extension springs is safety. These springs are under high tension and can pose a safety risk if they break. To mitigate this risk, proper safety cables must be installed to prevent the spring from flying across the garage if it fails. Another aspect to keep in mind is that extension springs tend to have a shorter lifespan compared to torsion springs. The increased stress and fatigue they experience during each door cycle contribute to a reduced lifespan. Regular inspection and maintenance are essential to ensure their optimal performance.

2.3 Space Requirements and Maintenance: Extension springs require additional space along the horizontal tracks, which can limit storage or ceiling clearance in the garage. It is important to consider this space requirement when planning your garage layout. Regarding maintenance, I recommend scheduling regular inspections with a professional to check for signs of wear, proper tension, and the condition of safety cables. Addressing any issues promptly ensures the continued functionality and safety of the extension spring system.

In conclusion, as stated in Garage Door Repair Salado TX, understanding the differences between torsion springs and extension springs is crucial for maintaining a functional and safe garage door. Based on my experience, torsion springs offer advantages such as smooth operation, durability, space efficiency, and enhanced safety. However, extension springs provide cost-effectiveness and the ability to replace individual springs. Safety considerations and regular maintenance are vital for both spring systems. Consult with a garage door professional to determine the best spring system for your specific door and consider factors such as budget, available space, and long-term maintenance requirements. By making informed decisions, you can ensure the optimal performance and longevity of your garage door spring system.

Salado Garage Doors

229 N Main St, Salado, TX 76571, United States

254-345-4058

How to Clean Garage Door Sensors – Salado Garage Doors

Garage door sensors are an essential component of the garage door system, responsible for detecting obstacles and ensuring safe operation. However, over time, dirt, dust, and other debris can accumulate on the sensors, affecting their performance. Regular cleaning of garage door sensors is necessary to maintain their functionality and prevent malfunctions.

By following these instructions from Garage Door Salado TX, you can ensure that your sensors work optimally, allowing for safe and reliable garage door operation.

Section 1: Understanding the Importance of Cleaning Garage Door Sensors

Before we delve into the cleaning process, let’s understand why it is essential to clean garage door sensors regularly. Here are a few reasons why sensor cleaning is crucial:

  1. Ensuring Safety: Clean sensors help in the proper detection of objects or people in the path of the garage door. This prevents accidents and property damage.
  2. Maintaining Functionality: Dust, dirt, or debris on the sensors can obstruct their operation, leading to inaccurate readings and preventing the garage door from closing or opening correctly.
  3. Preventing False Alarms: Dirty sensors may trigger false alarms, causing unnecessary inconvenience and interruptions.

Section 2: Preparing for Sensor Cleaning

Before you start cleaning the garage door sensors, gather the following items:

  1. Soft Cloth or Microfiber Towel: Choose a lint-free cloth or microfiber towel to avoid leaving fibers or scratches on the sensors.
  2. Isopropyl Alcohol: Prepare a small amount of isopropyl alcohol, which is effective in removing stubborn dirt and grime.
  3. Step Ladder: If needed, use a step ladder to safely reach and access the sensors, which are usually positioned near the bottom of the garage door tracks.
  4. Safety Measures: Before starting, ensure that the garage door is fully closed and disconnect the power supply to prevent accidental door movements.

Section 3: Cleaning the Garage Door Sensors

Follow these step-by-step instructions to clean your garage door sensors:

Step 1: Locate the Sensors

  1. Identify the sensors on both sides of the garage door, near the bottom. They are typically attached to the vertical tracks and face each other.
  2. Each sensor consists of a small box or housing with a lens and an attached wire.

Step 2: Inspect the Sensors

  1. Carefully examine the sensors for any visible dirt, dust, or obstructions.
  2. Look for spider webs, leaves, or other debris that might be blocking the sensors’ path.

Step 3: Remove Loose Debris

  1. Gently brush away any loose dirt or debris from the sensors using a soft brush or your hand.
  2. Be cautious not to exert too much pressure to avoid damaging the sensors.

Step 4: Clean the Sensors with Isopropyl Alcohol

  1. Dampen a soft cloth or microfiber towel with a small amount of isopropyl alcohol.
  2. Carefully wipe the sensor lenses and the surrounding areas with the damp cloth.
  3. Ensure that you clean both the transmitting (emitter) and receiving (receiver) sensors thoroughly.
  4. Pay extra attention to any stubborn stains or residue on the lenses and clean them gently.

Step 5: Check Alignment and Adjust if Necessary

  1. I will now verify that the sensors are properly aligned with each other. They should be facing each other directly and positioned at the same height.
  2. I’ll grab a level tool to ensure accurate alignment. Placing the level on top of each sensor, I’ll adjust their positions if needed.
  3. If the sensors are misaligned, I’ll loosen the mounting screws using a screwdriver. With caution, I’ll carefully realign them until they face each other perfectly.
  4. Once I’m satisfied with the alignment, I’ll tighten the screws to secure the sensors in place.

Step 6: Test the Sensors

  1. With the alignment and cleaning complete, it’s time to test the sensors to ensure they are working correctly.
  2. I’ll reconnect the power supply to the garage door opener, ensuring I’m in a safe position away from the door’s path.
  3. Next, I’ll press the button to activate the garage door’s opening mechanism.
  4. As the door begins to move, I’ll carefully observe the sensor lights.
  5. Both sensors should have their indicator lights illuminated, indicating that they are functioning properly.
  6. If the lights do not turn on or if they blink intermittently, I may need to repeat the cleaning and alignment process or seek professional assistance to resolve any underlying issues.

Step 7: Regular Maintenance and Prevention

  1. To maintain the optimal performance of my garage door sensors, I understand the importance of regular maintenance.
  2. I will make it a habit to visually inspect and clean the sensors every few months or as needed.
  3. I’ll ensure that the area around the sensors remains clear of any debris, such as leaves, spider webs, or dirt.
  4. By taking these preventative measures, I can minimize the chances of sensor obstructions and maintain the safe and smooth operation of my garage door.

In conclusion, according to Garage Door Salado TX, regularly cleaning and maintaining garage door sensors is crucial for their proper functioning and ensuring the safety of your garage door system. By following the step-by-step instructions provided in this guide, I can effectively clean and align the sensors. With clean and properly aligned sensors, I can enjoy reliable and safe garage door operation, while preventing false alarms and potential accidents. Additionally, I will incorporate regular sensor maintenance into my routine to keep them in optimal condition. By investing a little time and effort, I can ensure the long-term performance and longevity of my garage door sensors.

Salado Garage Doors

229 N Main St, Salado, TX 76571, United States

254-345-4058

How To Reprogram A Garage Door Opener – Salado Garage Doors

Reprogramming a Garage Door Repair Salado TX opener is a straightforward process that involves resetting the device and configuring it with a new code or remote control. In this guide, I will provide detailed instructions on how to reprogram a typical garage door opener.

Before you begin, make sure you have the following items ready:

  1. User manual: Locate the user manual for your garage door opener. This will provide specific instructions and information tailored to your device.
  2. Stepladder: Depending on the height of your garage door opener, you may need a stepladder to access the necessary buttons and controls.
  3. New remote control or code: If you’re reprogramming the opener to work with a new remote control, make sure you have the new remote handy. If you’re changing the access code, decide on a new code and have it ready.

Now, let’s proceed with the step-by-step process:

  1. Clear Existing Codes: a. Start by locating the “Learn” or “Smart” button on your garage door opener unit. Typically, you can find it on the back or side of the motor unit, close to the antenna. b. Press and hold down the “Learn” or “Smart” button until the indicator light on the unit turns off. This usually takes about 6-10 seconds. By doing this, you’ll clear all existing codes from the opener’s memory.
  2. Choose a New Code: a. Decide on a new code that you want to program into the opener. Depending on the type of opener you have, the code can be a combination of numbers or letters. b. Take a piece of paper and write down the new code for reference.
  3. Program the Remote Control: a. Locate the “Learn” or “Smart” button on the garage door opener unit. Press and release it. The indicator light should come on. b. Within 30 seconds of pressing the button, press and hold the button on the remote control that you want to program. Keep holding it until the indicator light on the opener blinks or turns off. This indicates that the programming was successful. If you have multiple remotes, repeat this step for each one.
  4. Test the Remote Control: a. Stand inside your garage and point the remote control toward the opener. b. Press the programmed button on the remote control to test if the garage door opens or closes as expected. Repeat the test a couple of times to ensure proper functioning.
  5. Keypad Programming (if applicable): a. If your garage door opener has a keypad, you can program it to work with the new code as well. b. Locate the “Learn” or “Smart” button on the motor unit and press it. c. Within 30 seconds of pressing the button, enter the new code on the keypad and press the “Enter” or “Send” button. The opener’s indicator light should blink or turn off, indicating successful programming.
  6. Test the Keypad: a. Stand outside your garage and enter the newly programmed code on the keypad. b. The garage door should open or close accordingly. Test it a few times to ensure it works reliably.

Remember, these instructions serve as a general guideline for reprogramming a garage door opener. Always refer to your specific garage door opener’s manual for accurate instructions tailored to your model. By following the provided steps and consulting your manual, you should be able to successfully reprogram your Garage Door Repair Salado TX.

Salado Garage Doors

229 N Main St, Salado, TX 76571

254-345-4058

Powered by WordPress & Theme by Anders Norén