Tag: garage door repair plano tx

How To Change Garage Door Panels – Plano Overhead & Garage Doors

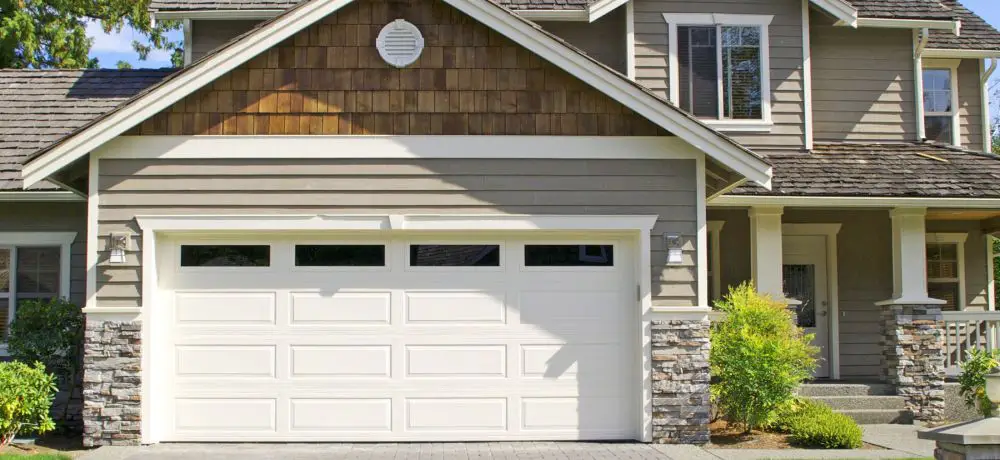
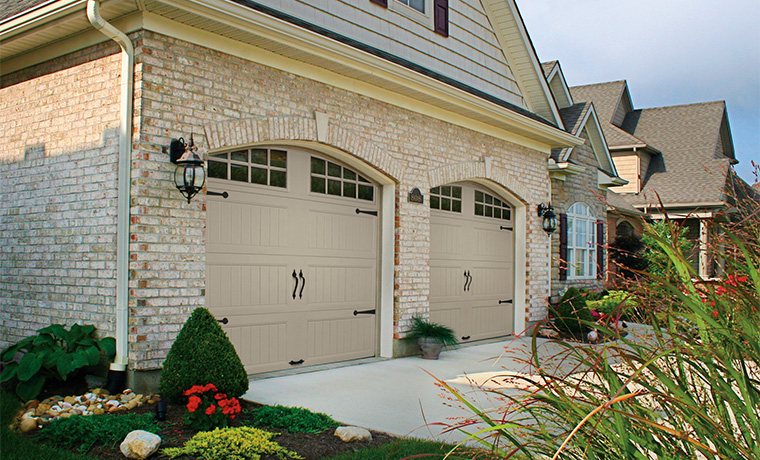
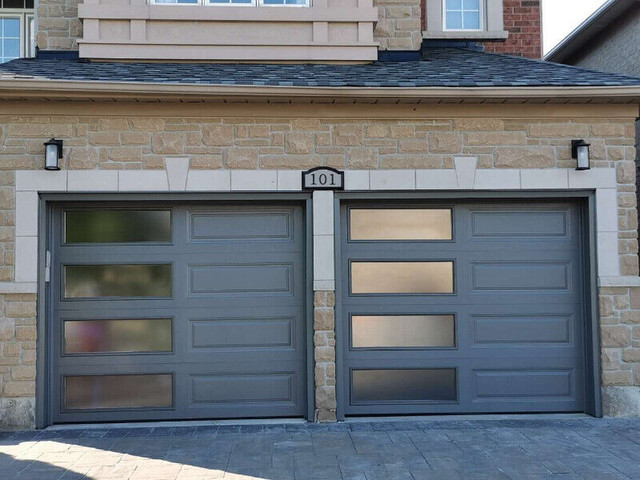
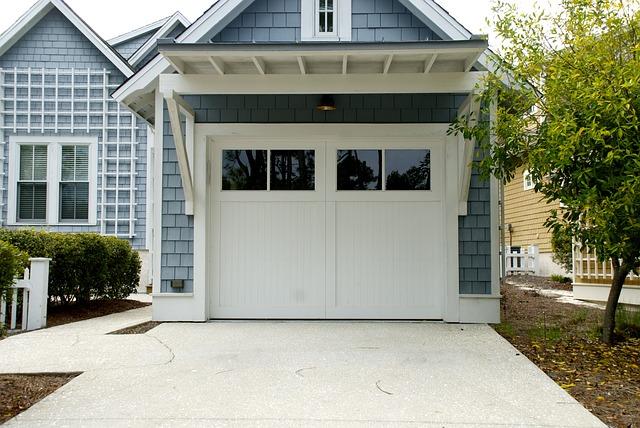
Garage Door Repair Plano TX not only serve a functional purpose but also contribute significantly to the aesthetic appeal of your home.

Over time, wear and tear or accidental damage may necessitate the replacement of garage door panels. In this comprehensive guide, we will walk you through the step-by-step process of changing garage door panels.

: Assess the Damage: Begin by assessing the extent of the damage to your garage door panels. Identify which panels need replacement and whether it’s a single panel or multiple panels. This initial evaluation will help you determine the scope of the project.

: Order Replacement Panels: Contact the manufacturer of your garage door or a reputable supplier to order replacement panels. Provide them with the model and specifications of your garage door to ensure you receive panels that match the existing ones.

: Gather Necessary Tools: Before you start the replacement process, gather the necessary tools, including a screwdriver, pliers, socket set, and a helper for certain steps. Ensure you have a stable ladder that reaches the height of your garage door.

: Disconnect the Garage Door Opener: For safety reasons, disconnect the garage door opener from the power source. This prevents accidental activation while you are working on the door.

: Open the Garage Door: Manually open the garage door to its highest position. Use locking pliers or another secure method to keep the door in place and prevent it from accidentally closing.

: Remove the Old Panels: Starting from the top, use a screwdriver or socket set to remove the screws securing the damaged panels. If the panels are connected by hinges, disconnect them. Carefully lower the damaged panel and repeat this process for each panel that needs replacement.

: Install the New Panels: With the damaged panels removed, position the new panels in place. Ensure that they align correctly with the remaining panels and fit securely into the tracks. Use the screwdriver or socket set to reattach the panels, securing them with the provided screws.

: Reconnect Hinges and Rollers: If your garage door panels are connected by hinges, reattach them securely. Ensure that the rollers are properly aligned with the tracks and move smoothly.

: Adjust and Tighten: Adjust the new panels as needed to ensure they are level and aligned. Tighten all screws and bolts to secure the panels in place. This step is crucial for the smooth operation of the garage door.

: Test the Garage Door: Reconnect the garage door opener to the power source and test the door’s functionality. Open and close the door multiple times to ensure that the new panels do not impede its movement.

: Lubricate Moving Parts: Apply lubricant to the moving parts of the garage door, including rollers, hinges, and tracks. This helps reduce friction and ensures smooth operation.

: Realign Sensors (if applicable): If your garage door is equipped with safety sensors, ensure they are properly aligned and functioning. This is crucial for the safe operation of the door.

: Regular Maintenance: Implement a regular maintenance schedule for your garage door, including visual inspections, lubrication, and minor adjustments. This proactive approach can prevent future issues and extend the life of your garage door.

Conclusion:

Changing Garage Door Repair Plano TX requires careful consideration and precision. By following these detailed steps, you can successfully replace damaged panels and restore the functionality and appearance of your garage door. Regular maintenance and prompt repairs contribute to the longevity of your garage door system, providing you with reliable and secure access to your home.

Plano Overhead & Garage Doors

972-640-7299

How To Install Garage Door Bottom Rubber – Plano Overhead & Garage Doors

Installing a Garage Door Repair Plano TX seal is a pretty straightforward task that doesn’t require any specialized skills.

Follow these steps carefully, and you’ll have a snug-fitting, weather-resistant seal in no time.

: Gather Your Materials

Before you begin, make sure you have all the necessary materials and tools:

  • Garage door bottom rubber seal kit
  • Measuring tape
  • Pencil or marker
  • Hacksaw or utility knife
  • Screwdriver
  • Drill with bits
  • Screws or nails (depending on your kit)

: Measure the Door

Start by measuring the width of your garage door. This measurement will determine the length of the rubber seal you’ll need. Measure from one end of the door to the other, ensuring accuracy.

: Trim the Rubber Seal

Once you have the measurements, use a hacksaw or utility knife to trim the rubber seal to the appropriate length. Remember to measure twice and cut once to avoid any mistakes.

: Clean the Bottom of the Door

Before attaching the rubber seal, clean the bottom of the garage door thoroughly. Remove any dirt, debris, or old weatherstripping to ensure a clean surface for the new seal to adhere to.

: Attach the Rubber Seal

Most rubber seal kits come with pre-drilled holes for easy installation. Position the rubber seal along the bottom edge of the door, making sure it’s centered. If your kit doesn’t have pre-drilled holes, you may need to drill them yourself.

: Secure the Seal in Place

Using screws or nails, secure the rubber seal to the bottom of the door. Start at one end and work your way to the other, ensuring the seal is snug and secure. Be careful not to overtighten, as this may cause damage to the rubber.

: Test the Door

After the rubber seal is securely attached, open and close the garage door to ensure it moves smoothly without any obstructions. This will also help you confirm that the seal is providing a proper barrier against drafts and pests.

: Make Adjustments if Necessary

If you notice any gaps or areas where the seal isn’t making proper contact, make adjustments as needed. You may need to trim the seal further or reposition it for optimal coverage.

: Weatherproofing

To enhance the weatherproofing capabilities of the rubber seal, consider applying a silicone-based weatherproofing caulk along the edges. This will create a tight seal and prevent moisture from seeping in.

: Enjoy the Benefits

Congratulations! You’ve successfully installed a Garage Door Repair Plano TX seal. Enjoy the improved insulation, reduced drafts, and enhanced protection against the elements. Your garage space is now better equipped to withstand various weather conditions.

Plano Overhead & Garage Doors

972-640-7299

How Do You Program A Liftmaster Garage Door Opener – Plano Overhead & Garage Doors

Programming a LiftMaster Garage Door Repair Plano TX involves several steps, and while it may not require to explain, I will provide a detailed guide to ensure clarity.

Keep in mind that specific instructions can vary depending on the model of your LiftMaster opener, so always refer to your opener’s manual for precise instructions. Below are general steps to program a LiftMaster garage door opener:

1. Gather Supplies:

  • Your LiftMaster garage door opener.
  • The remote control you want to program.
  • A ladder (if needed).

2. Clear Existing Codes:

  • Locate the “Learn” button on your garage door opener. This button is usually on the back or side of the opener motor unit.
  • Press and hold the “Learn” button until the LED indicator beside it turns off. This step erases all previous codes.

3. Choose the Programming Method:

  • LiftMaster openers typically offer two programming methods: a. Learn Button Method: This is the most common method. b. DIP Switches Method: Older models may use DIP switches.

4. Learn Button Method (Most Common):

  • Stand on a ladder to reach the motor unit.
  • Press and release the “Learn” button on the motor unit.
  • Within 30 seconds, press the button on your remote control that you want to program.
  • The motor unit’s LED light will flash or click to indicate successful programming.

5. DIP Switches Method (If Applicable):

  • Locate the DIP switches on both the remote control and the motor unit.
  • Match the DIP switch settings on the remote to those on the motor unit. They should be identical.
  • Test the remote to ensure it operates the garage door opener.

6. Test the Remote:

  • Step away from the motor unit and press the programmed remote button.
  • The garage door should respond by opening or closing.
  • If it doesn’t work, recheck your programming steps, or try reprogramming the remote.

7. Program Additional Remotes (Optional):

  • Repeat the programming steps for any additional remotes you want to use with your opener.

8. Program the Wireless Keypad (Optional):

  • If your garage door opener supports a wireless keypad, follow the instructions in the manual to program it.

9. Test Everything:

  • Ensure that all programmed remotes and keypads operate the garage door smoothly.
  • Check for any interference issues and address them if necessary.

10. Safety Precautions: – Test the safety features of your garage door opener, including the auto-reverse function, to ensure they are working correctly.

11. Maintain Documentation: – Write down the programming details and keep them in a safe place for future reference.

12. Troubleshooting: – If you encounter any problems during programming, consult your opener’s manual or contact LiftMaster’s customer support.

In summary, programming a LiftMaster Garage Door Repair Plano TX involves clearing existing codes, choosing the programming method, and following specific steps to program your remote control. Always prioritize safety and refer to your opener’s manual for model-specific instructions.

Plano Overhead & Garage Doors

972-640-7299

How To Reconnect Garage Door After Pulling Cord – Plano Overhead & Garage Doors

If you’ve pulled the emergency release cord on your Garage Door Repair Plano TX and need to reconnect it to the automatic opener, it’s a relatively simple process. The emergency release cord is designed to disconnect the door from the opener so you can operate the door manually in case of a power outage or other issues.

Here’s a step-by-step guide on how to reconnect your garage door after pulling the emergency release cord:

Tools and Materials You Will Need:

  • Ladder (if needed)
  • Pliers or adjustable wrench
  • Helper (optional)

Important Safety Precautions:

  • Ensure that the garage door is in the closed position before attempting to reconnect it to the opener.
  • Disconnect the garage door opener from power to prevent accidental activation while working on the door.

1. Close the Garage Door:

  • If the garage door is not already closed, manually close it until it’s fully shut. This ensures that the door is properly aligned with the opener carriage.

2. Locate the Emergency Release Cord:

  • The emergency release cord is typically a red rope or handle hanging from the garage door opener carriage or trolley, which is the part that moves along the opener rail.

3. Pull Down on the Emergency Release Cord:

  • Pull down on the emergency release cord to disengage the opener carriage from the garage door. This allows you to operate the door manually.

4. Align the Opener Carriage:

  • With the door closed and the emergency release cord pulled down, manually move the opener carriage along the opener rail until it’s positioned near the center of the garage.

5. Reconnect the Garage Door:

5.1. Align the Carriage and Door Bracket:

  1. While the opener carriage is positioned near the center of the garage, make sure the carriage’s trolley is aligned with the “U”-shaped door bracket attached to the top of the garage door.

5.2. Insert the Carriage into the Door Bracket:

  1. Lift the emergency release cord slightly to engage the carriage’s trolley with the door bracket.
  2. The trolley should fit into the bracket snugly.

5.3. Release the Emergency Release Cord:

  1. Gently release the emergency release cord. The trolley should remain engaged with the door bracket.

6. Test the Reconnection:

  • Manually open the garage door slightly (about a foot) and then close it again using the garage door opener remote or wall-mounted button. The opener should smoothly engage the door and operate it.

7. Reconnect Power:

  • Plug the garage door opener back into the power outlet or turn the power back on.

8. Test the Automatic Operation:

  • Use your garage door opener remote or wall-mounted button to open and close the garage door automatically. The door should operate as expected.

9. Check for Proper Operation:

  • Observe the garage door’s movement as it opens and closes with the automatic opener. Ensure that it moves smoothly and evenly without any jerking or sticking.

10. Conclusion:

Reconnecting your Garage Door Repair Plano TX to the automatic opener after pulling the emergency release cord is a straightforward process that involves aligning the trolley with the door bracket. Following these steps carefully and ensuring that the door is properly aligned will help you restore the normal automatic operation of your garage door opener. If you encounter any difficulties during the reconnection process, consider seeking assistance from a professional garage door technician.

Plano Overhead & Garage Doors

Plano TX, United States

817-242-5042

How to Set Up a Garage Door Opener – Plano East Garage Door

I can guide you through the steps I got from Garage Door Repair Plano TX on setting up my own garage door opener:

Step 1: Gather Materials Before beginning the installation, I made sure to gather all the necessary materials. This included the garage door opener, mounting brackets, screws, wall console, remote control, safety sensors, and a ladder.

Step 2: Choose a Location for the Opener I carefully chose a location for the opener that was near the power outlet and had enough space for mounting the opener and the rail. I decided to mount the opener on the ceiling, as it provided the most convenient location.

Step 3: Install the Mounting Brackets Next, I installed the mounting brackets for the opener on the ceiling. I used screws and anchors to secure the brackets in place.

Step 4: Install the Opener Once the mounting brackets were in place, I attached the opener to the brackets using the provided screws. I followed the manufacturer’s instructions carefully to ensure proper installation.

Step 5: Install the Rail I attached the rail to the opener and secured it to the mounting brackets using the provided screws. I made sure that the rail was level and straight.

Step 6: Install the Safety Sensors I installed the safety sensors on either side of the garage door, about six inches above the ground. I made sure that the sensors were aligned with each other and that they were not obstructed.

Step 7: Connect the Wiring Next, I connected the wiring from the opener to the safety sensors and the wall console according to the manufacturer’s instructions. I followed the wiring diagram carefully and used wire connectors to secure the connections.

Step 8: Test the Opener After completing the installation, I tested the opener to make sure it was working correctly. I pressed the button on the remote control to open and close the garage door. The door moved smoothly and evenly, indicating that the opener was installed correctly.

Step 9: Install the Wall Console and Remote Control Finally, I installed the wall console and the remote control. I mounted the wall console near the door to the garage, and I kept the remote control in a convenient location.

In conclusion, according to Garage Door Repair Plano TX, setting up a garage door opener required some basic tools and knowledge, but I was able to complete it by following the above steps. By installing a garage door opener, I can enjoy convenient access to my home or garage while ensuring my safety and security. If you’re not comfortable installing the opener yourself, it’s best to seek the assistance of a professional garage door installer.

Plano East Garage Door

1201 E Plano Pkwy B, Plano, TX 75074, United States

972-640-7299

How to Reset a Garage Door – Plano East Garage Door

I’ll provide the steps from Garage Door Repair Plano TX on how to reset your garage door:

Step 1: I will start by disconnecting the power to my garage door opener. I will unplug it from the electrical outlet or turn off the circuit breaker that powers it.

Step 2: Next, I will check the path of the garage door for any obstructions. I will remove any objects that may be blocking the door, such as boxes or debris.

Step 3: I will then locate the emergency release cord on the opener rail. It’s a red handle that hangs from the opener rail. I’ll pull the cord to disengage the opener from the door.

Step 4: With the opener disengaged, I’ll manually move the garage door up and down to check for any resistance or sticking points. The door should move smoothly and evenly without any hesitation or binding.

Step 5: Once I’m sure that the garage door is moving smoothly, I’ll reattach the emergency release cord to the opener carriage, and then plug the opener back into the electrical outlet or turn the circuit breaker back on.

Step 6: After reconnecting the opener, I’ll test the garage door by pressing the button on the remote control to open and close the door. If the door opens and closes correctly, then the reset process is complete.

Step 7: However, if the garage door does not work correctly after the reset, I’ll refer to the owner’s manual or manufacturer’s website for instructions on how to adjust the opener settings, such as the force or travel limits.

In conclusion, based from Garage Door Repair Plano TX, a garage door is a simple process that anyone can complete by following the above steps. By resetting my garage door, I can ensure that it’s working correctly and safely, providing me with convenient access to my home or garage.

Plano East Garage Door

1201 E Plano Pkwy B, Plano, TX 75074, United States

972-640-7299

Powered by WordPress & Theme by Anders Norén