
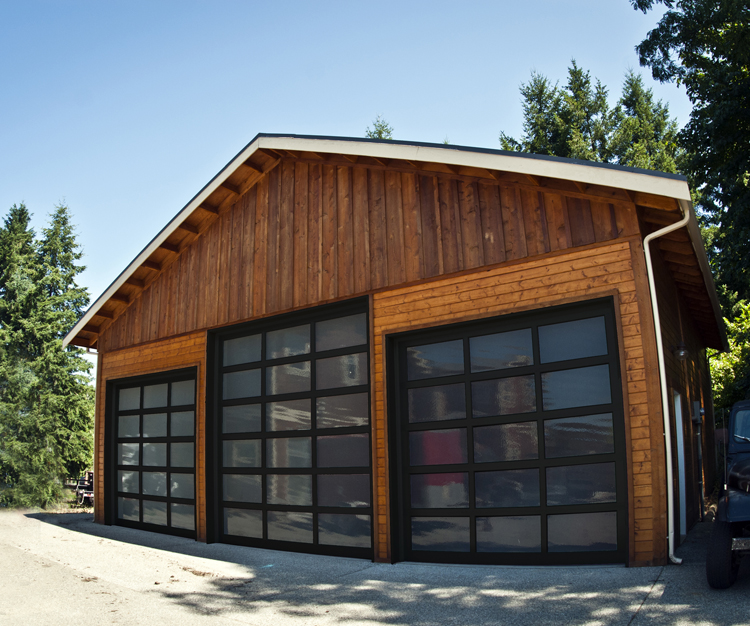
Installing rubber on the bottom of your Garage Door Repair Lantana TX is an essential home improvement task that can help to improve insulation, reduce noise, and protect your garage from dust, dirt, and pests.
This comprehensive guide will provide you with step-by-step instructions on how to install rubber weatherstripping on your garage door. With a few tools and some patience, you can complete this DIY project and enjoy the benefits of a well-sealed garage door.
Tools and Materials
Before you begin, gather the following tools and materials:
- Rubber weatherstripping kit
- Tape measure
- Pencil
- Utility knife or scissors
- Screwdriver
- Cleaning supplies (soap and water)
- Rag or towel
- Safety goggles and gloves
- Ladder (if necessary)
- Garage door lubricant (optional)
: Prepare the Area
Start by cleaning the bottom of the garage door to remove any dirt, debris, or old weatherstripping. Use a rag or towel soaked in soapy water to wipe down the surface thoroughly. Allow it to dry completely before moving on to the next step. Ensure that the area is clean and free of obstructions.
: Measure and Cut the Rubber
Measure the width of your garage door to determine the length of rubber weatherstripping needed. It’s crucial to measure accurately to ensure a snug fit. Use a tape measure to take the measurement.
Next, unroll the rubber weatherstripping kit and use your tape measure to mark the appropriate length on the rubber strip. Using a pencil, mark the cutting line. Ensure that the rubber strip is straight and even. Once marked, use a utility knife or scissors to cut the rubber along the line.
: Attach the Rubber Weatherstripping
Position the cut rubber weatherstripping at the bottom of the garage door. Ensure that it is centered and lines up with the edge of the door. Starting from one end, use a screwdriver to secure the rubber strip in place. Most weatherstripping kits come with pre-drilled holes for screws.
Insert screws through the holes in the rubber strip and into the garage door. Tighten them securely but avoid over-tightening, which could damage the rubber. Work your way along the entire length of the strip, spacing the screws evenly.
: Test the Seal
With the rubber weatherstripping in place, close the garage door to test the seal. Pay attention to any gaps or areas where the rubber may not be making proper contact with the floor. If necessary, make adjustments by repositioning the rubber strip or adding extra screws for better alignment.
: Lubricate the Rubber
To ensure the rubber weatherstripping lasts longer and maintains flexibility, you can apply a silicone-based garage door lubricant to it. This will help prevent it from drying out and cracking over time. Follow the manufacturer’s instructions for applying the lubricant.
Conclusion:
Installing rubber on the bottom of your Garage Door Repair Lantana TX is a simple yet effective way to improve insulation, reduce noise, and keep your garage clean and pest-free. By following the steps outlined in this guide and using the right tools and materials, you can complete this DIY project with ease. Regular maintenance, such as cleaning and lubricating the rubber, will help prolong its lifespan and ensure it continues to serve its purpose effectively. Enjoy the benefits of a well-sealed garage door, and rest assured that your efforts will pay off in energy savings and comfort.
Coppell Gates & Garage Doors
440 Shadowcrest Ln, Coppell, TX 75019, United States
1-972-449-7776