
Replacing a garage door opener can seem like a daunting task, but with the right tools and instructions, it can be done quickly and easily.
In this guide, we will walk you through the steps to replace a garage door opener.
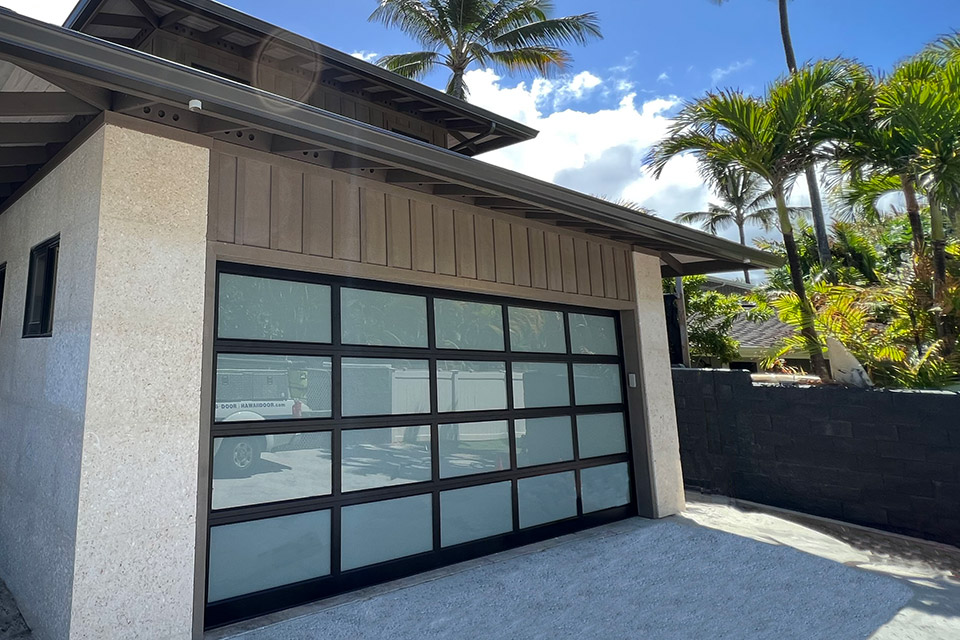
Before we get started, it’s important to note that all Garage Door Repair Argyle TX openers are different, so be sure to read the instructions that come with your specific model.
Additionally, it’s recommended to have a friend or family member help you with the installation to make the process smoother and safer.
Step 1: Gather Your Tools and Materials
Before beginning any project, it’s important to gather all of the necessary tools and materials. Here is a list of items you will need to replace a garage door opener:
- A new garage door opener
- Screwdriver
- Power drill
- Wrench
- Pliers
- Safety glasses
- Ladder
- Measuring tape
- Level
- Wire cutters
- Electrical tape
Step 2: Remove the Old Garage Door Opener
The first step in replacing a garage door opener is to remove the old one. Begin by unplugging the opener from the power source. Then, loosen and remove the bolts or screws that hold the opener in place. Once the old opener is disconnected, you can remove it from the ceiling or wall.
Step 3: Install the Mounting Bracket and Trolley
Before installing the new garage door opener, you will need to attach the mounting bracket to the ceiling or wall. Use a level to ensure the bracket is straight and mark the holes where the screws will go. Then, use a power drill to make the holes and secure the bracket in place.
Next, attach the trolley to the bracket according to the manufacturer’s instructions. Make sure the trolley is properly aligned and securely attached.
Step 4: Install the Rail and Motor Unit
Now it’s time to install the rail and motor unit. The rail should be attached to the trolley with bolts and nuts, and the motor unit should be attached to the rail with bolts.
Once the motor unit is securely attached to the rail, attach the chain or belt to the trolley and motor unit according to the manufacturer’s instructions.
Step 5: Connect the Electrical Wires
Now it’s time to connect the electrical wires. Begin by connecting the wires from the motor unit to the wall control panel. Then, connect the safety sensors to the motor unit. Be sure to follow the manufacturer’s instructions for connecting the wires.
Step 6: Test the Garage Door Opener
Before using the garage door opener, you will need to test it to ensure it is working properly. Begin by plugging the opener into the power source and turning it on. Then, use the wall control panel to open and close the garage door several times. Be sure to stand clear of the door while it is moving.
Step 7: Adjust the Settings
Once the garage door opener is installed and working properly, you may need to adjust the settings. This may include adjusting the force settings, travel limits, and speed settings. Be sure to follow the manufacturer’s instructions for adjusting these settings.
Step 8: Clean up and Dispose of the Old Opener
Finally, clean up any debris and dispose of the old garage door opener according to your local regulations.
Congratulations, you have successfully replaced your Garage Door Repair Argyle TX opener! Remember to read and follow the manufacturer’s instructions for your specific model for the best results.
Argyle Garage Door Repair
1004 Stonecrest Rd, Argyle, TX 76226, United States
1-940-326-5646